
So you’ve finally decided to dive into the world of home theatre and grabbed yourself an AV receiver. Congrats! It’s about to get a lot more cinematic around your living room. But before you start blasting those explosions and heartwarming soundtracks, we need to get that bad boy set up. And don’t worry, it’s not rocket science. we’re here to guide you through it step by step.
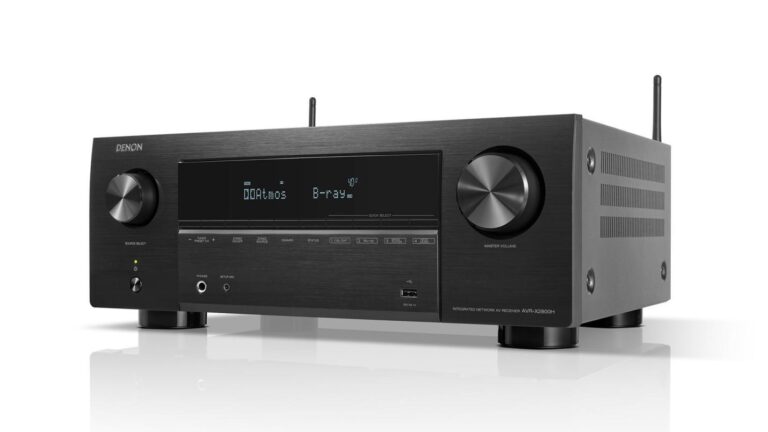
1. Unboxing and Placement
First things first, let’s get that shiny new AV receiver out of its box. Carefully unpack it, making sure to keep all the accessories and manuals safe. Now, let’s find it a good spot in your entertainment centre. Make sure it has plenty of breathing room for ventilation, as these things can get a bit warm during those intense movie marathons. Also, consider its proximity to your TV and speakers for easy cable management.
2. Connecting the Speakers
Next, it’s time to connect your speakers. If you’re going old-school with traditional wired speakers, grab those speaker cables and start connecting them to the corresponding speaker terminals on the back of the AV receiver. Note the polarity (positive and negative) to ensure proper sound reproduction. And if you’re feeling fancy with wireless speakers, follow the pairing instructions for your specific model. Some audio receivers with Bluetooth make this process a breeze.
3. Connecting Your TV
Now, let’s get your TV in on the action. The most common way to connect your TV to AV receivers is HDMI. Simply plug one end of an HDMI cable into the HDMI output on the receiver and the other end into an HDMI input on your TV. If you have multiple HDMI devices, like gaming consoles or Blu-ray players, connect them directly to the AV receiver’s HDMI inputs. This way, the receiver can handle all the audio and video switching for you.
4. Configuring the Settings
Alright, now that everything is connected, it’s time to power on the AV receiver and start configuring the settings. Most receivers will guide you through an initial setup process, where you’ll set the speaker configuration (e.g., 5.1, 7.1), adjust the speaker levels, and fine-tune the audio settings. Take your time with this step, as it will significantly impact your overall listening experience. If you’re in India and looking for the best AV receiver, consider your specific needs and budget. There are many great options, including 5.1 AV receivers that offer excellent value for money.
5. Testing the Setup: Time for the Soundcheck
Once you’ve configured the settings, it’s time for the moment of truth: the soundcheck. Pop in your favourite movie or music album and let it rip. Pay attention to the sound quality, balance, and overall immersion. If something doesn’t sound quite right, don’t hesitate to go back and tweak the settings until you achieve audio nirvana.
Additional Tips and Tricks
Calibrate Your Speakers: If you want to take your audio experience to the next level, consider using the AV receiver’s built-in speaker calibration feature. This will help optimise the sound for your specific room and speaker placement.
Explore Different Sound Modes: Most AV receivers come with various sound modes, such as “Movie,” “Music,” and “Game.” Experiment with these modes to find the ones that best suit your content and preferences.
Upgrade Your Cables: If you’re serious about audio quality, consider investing in high-quality HDMI and speaker cables. This can make a noticeable difference in sound clarity and detail.
Keep Your Firmware Up to Date: Manufacturers often release firmware updates for AV receivers to improve performance and add new features. Check for updates periodically and install them as needed.
Conclusion
And there you have it! You’ve successfully set up your AV receiver and are ready to embark on a cinematic journey from the comfort of your own home. Remember, the key is to have fun and experiment with different settings and configurations until you find what sounds best to you. So grab some popcorn, dim the lights, and let the immersive audio experience begin!